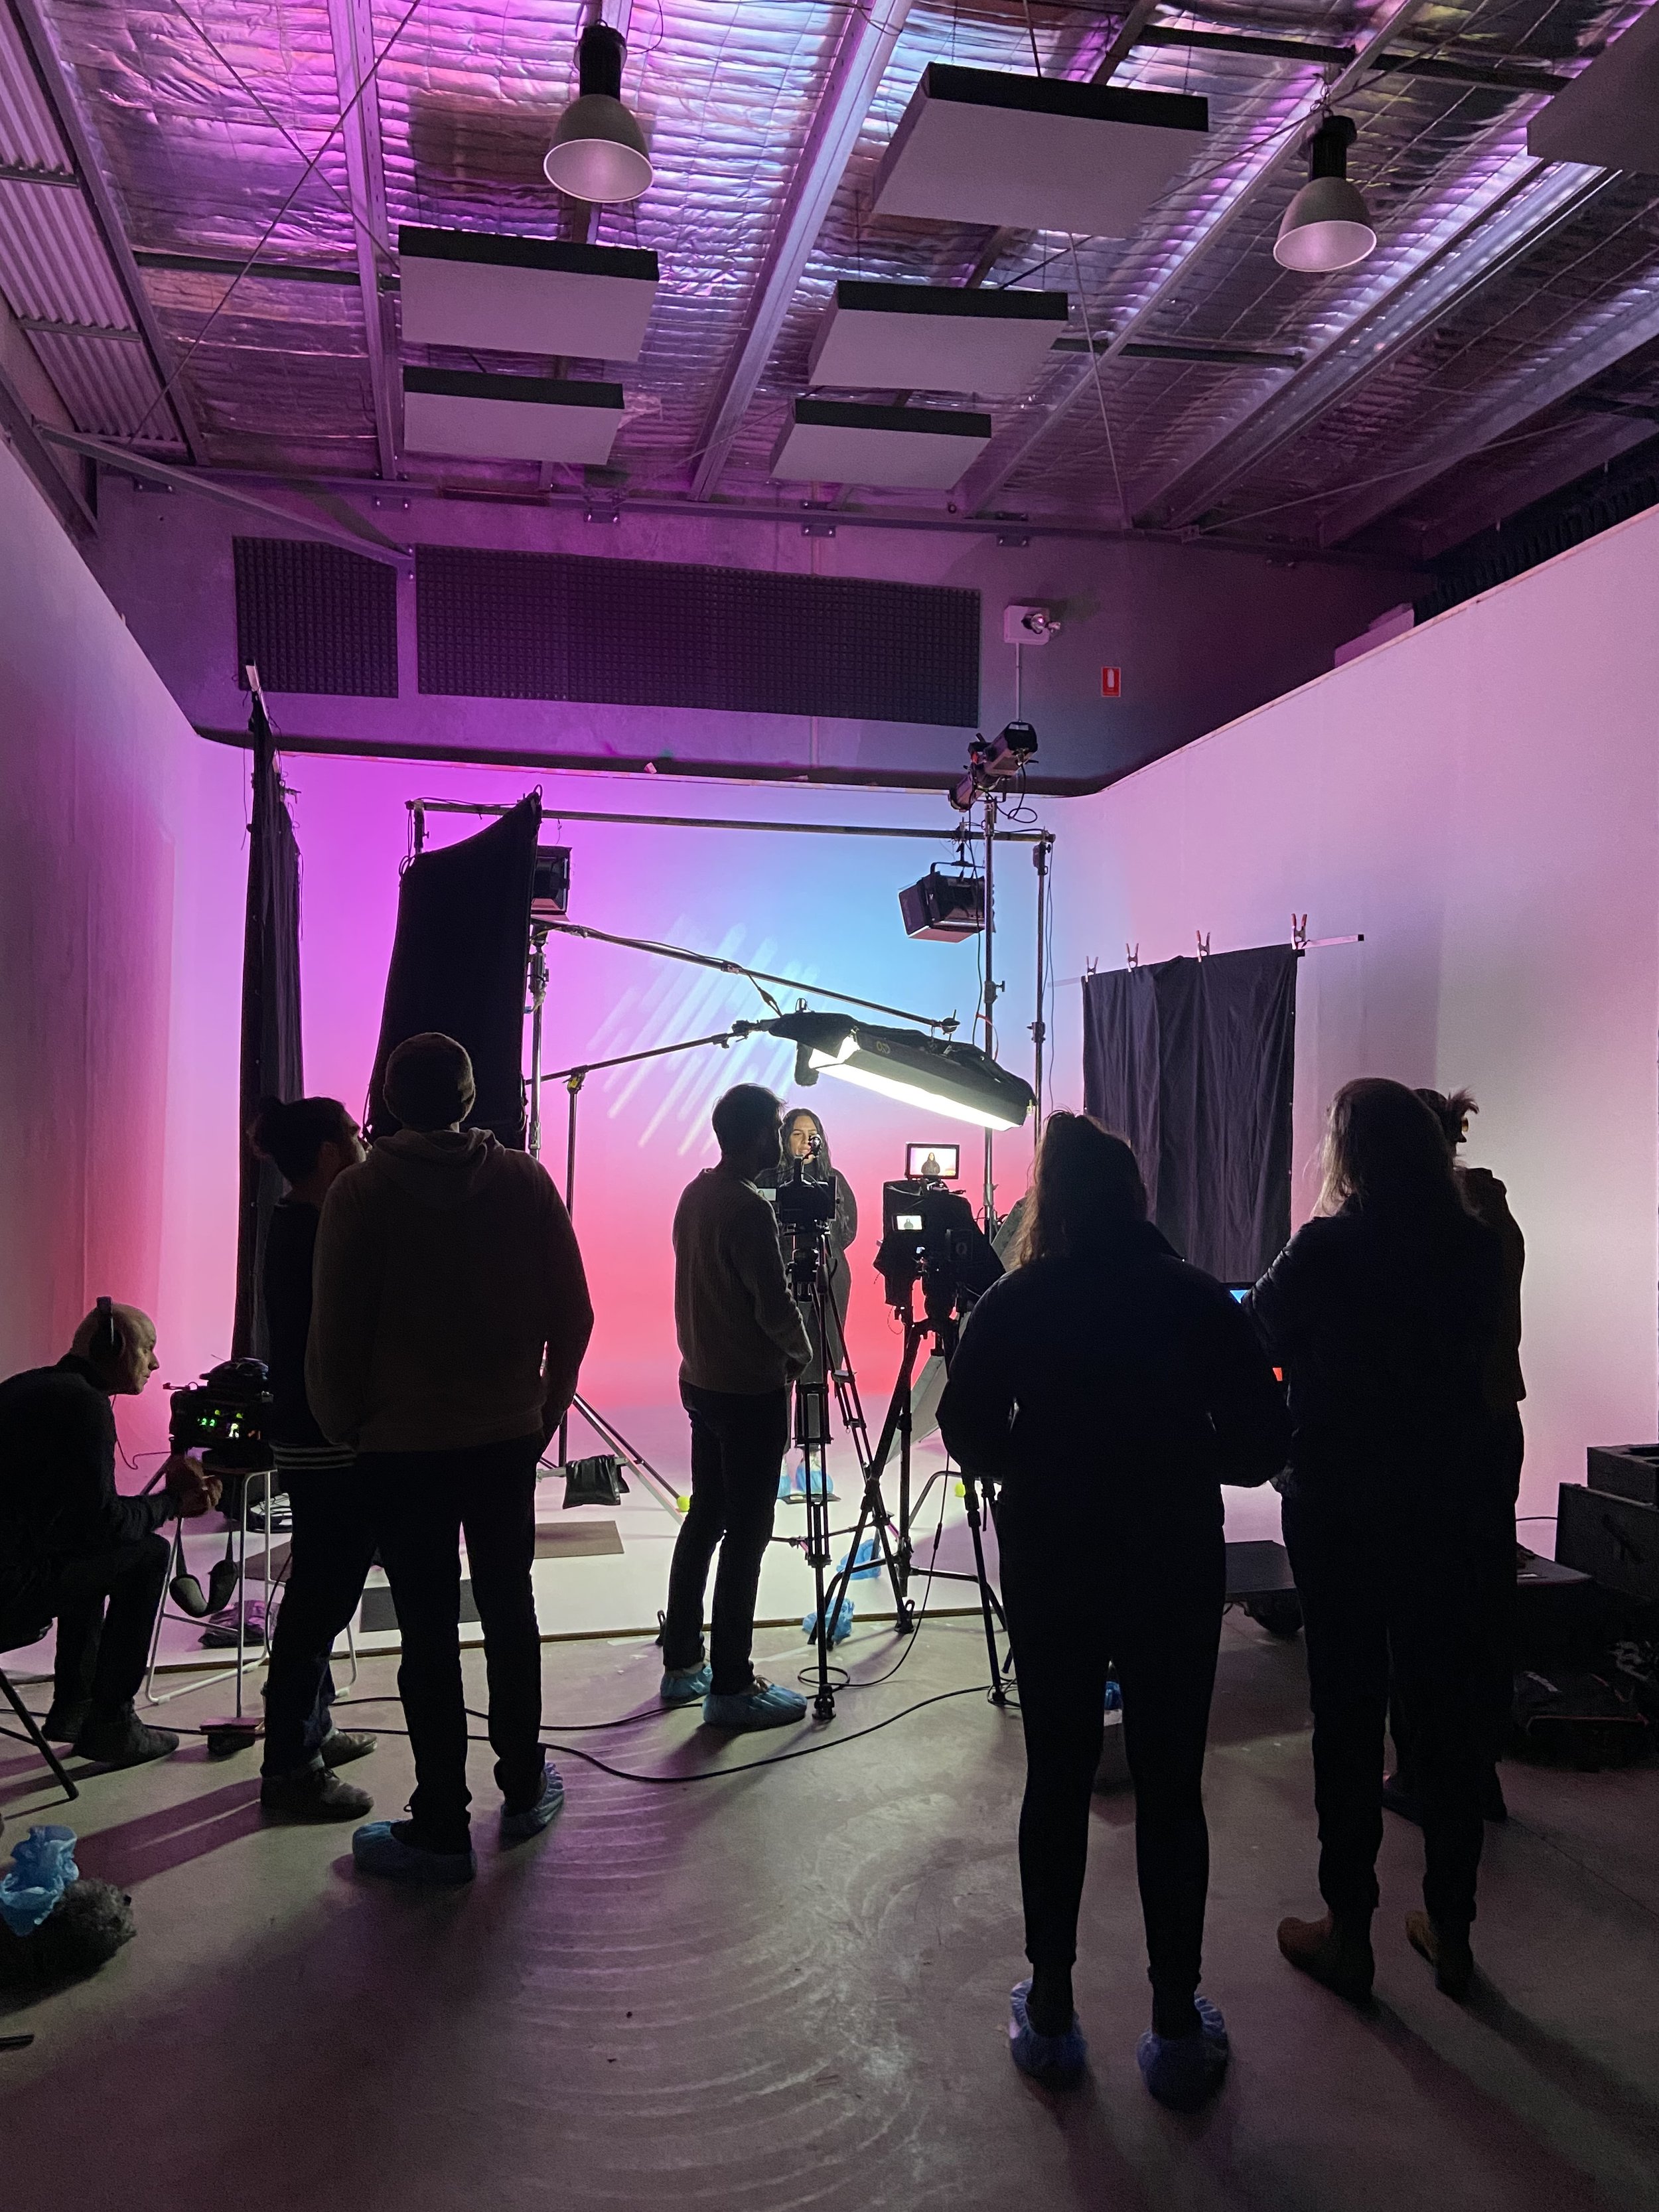
Mastering Studio Lighting: Essential Tips and Techniques
Creating the perfect lighting setup is crucial for achieving professional and captivating studio photography and videography results. In this blog post, we'll share expert advice and essential tips to help you master studio lighting. From understanding three-point lighting to managing colour temperature and utilising lighting modifiers, we'll cover the key aspects that will take your studio lighting skills to the next level.
Understanding Three-Point Lighting
One of the fundamental techniques in studio lighting is three-point lighting. This approach uses three main lights: the key, fill, and backlight.
The key light is the primary light source that illuminates the subject, while the fill light softens shadows and balances the overall lighting. The backlight adds depth and separation from the background.
By strategically positioning and adjusting these lights, you can sculpt the subject and create dimension in your shots.
Managing Colour Temperature
Colour temperature plays a significant role in setting the mood and tone of your studio shots. Different light sources emit varying hues, ranging from warm to cool.
Understanding how to manage colour temperature allows you to achieve your images' desired look and feel. You can use gels or adjust the white balance settings on your camera to control the colour temperature and create the desired atmosphere.
Exploring Lighting Modifiers
Lighting modifiers are essential tools for shaping and controlling light in the studio. Softboxes, umbrellas, beauty dishes, and reflectors are commonly used modifiers that can alter the quality and direction of light.
Softboxes and umbrellas diffuse the light, creating soft and flattering illumination. Beauty dishes produce a more focused light with gentle shadows, ideal for portrait photography.
Reflectors bounce and redirect light, allowing you to fill in shadows or enhance specific areas. Experimenting with different modifiers will help you achieve the desired lighting effect for your subject and style.
Balancing Ambient and Artificial Light
In some cases, you may need to balance natural or ambient light with artificial lighting in your studio. This process can be delicate to ensure a seamless blend between the two light sources.
Neutral density filters can help control the intensity of natural light while adjusting the shutter speed can balance the exposure. Modifying the power or position of your studio lights can also help achieve the desired balance between ambient and artificial light.
Creating Dramatic Lighting
Studio lighting provides an opportunity to create dramatic and impactful images. High contrast, low-key lighting, and silhouette shots are popular techniques for achieving a dramatic effect.
Using grids and flags lets you control light spill and create striking shadows and highlights, adding depth and visual interest to your photographs or videos.
Troubleshooting Common Lighting Challenges
Lighting can present challenges like glare, hotspots, or unwanted reflections.
To overcome these issues, you can use diffusion materials to soften harsh light, adjust the position or angle of the lights, or introduce additional modifiers to control reflections.
Understanding these common challenges and their solutions will help you overcome any lighting obstacles and improve the overall quality of your studio lighting.
Mastering studio lighting is crucial for photographers and videographers seeking professional and captivating results. By understanding three-point lighting, managing colour temperature, utilising lighting modifiers, and troubleshooting common challenges, you'll be well-equipped to create stunning images in your studio.
Don't be afraid to experiment, practice, and push your creative boundaries to achieve the desired lighting effects for your unique style and subjects.
With time and experience, you'll become a master of studio lighting and elevate your photography or videography to new heights.


